Managing automated billing
This article explains how to manage automated billing. If you would like instructions on how to set up automated billing, click here.
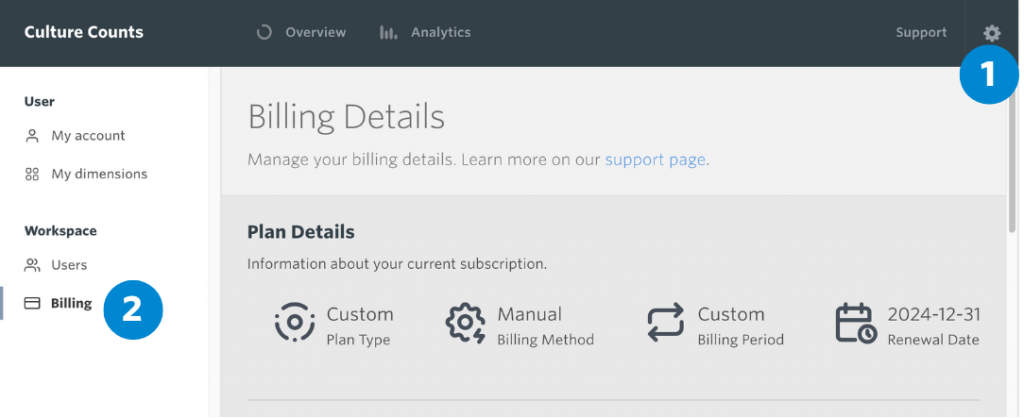
Access the billing page
Login to the dashboard and head to the settings tab in the Culture Counts dashboard. To do this, select the cog icon in the top right-hand corner next to ‘Support’. Click on ‘Settings’. You will then see your account settings page, and under the Workspaces heading you will find your billing options.
Update your details
You can update your account details via the purple ‘Manage Account’ button, under the Billing Details heading.
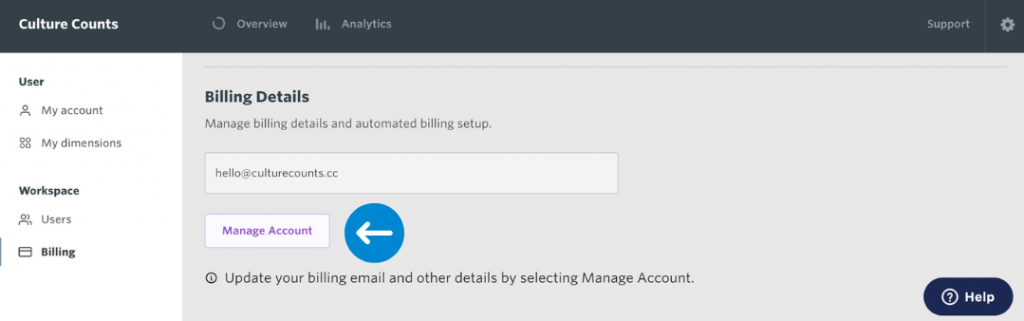
This will open the Stripe Portal. From there you can view the following:
- Your payment method
- Your billing information such as contact information
- Cancel your plan
- Invoice history
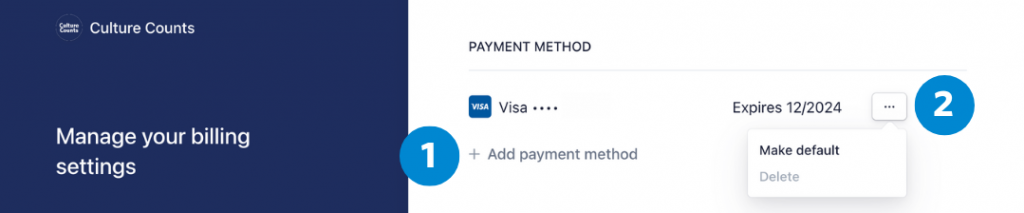
Payment method
The card number that appears in this section will be the one used to initially set up your automated billing account. As this is an annual subscription, you will receive a reminder email shortly before your default card is charged for the next rollover of your subscription.
Update payment method
Add a payment method by clicking the ‘+ Add payment method’ option and following the prompts. Any additional cards will appear under the ‘Select a payment method’ heading.
Click on the three small dots (pictured) to open the card settings menu. This is where you can either delete or make the card the default payment option. Any payments will be automatically made using the default card – this can be helpful if you have multiple cards added as payment methods.
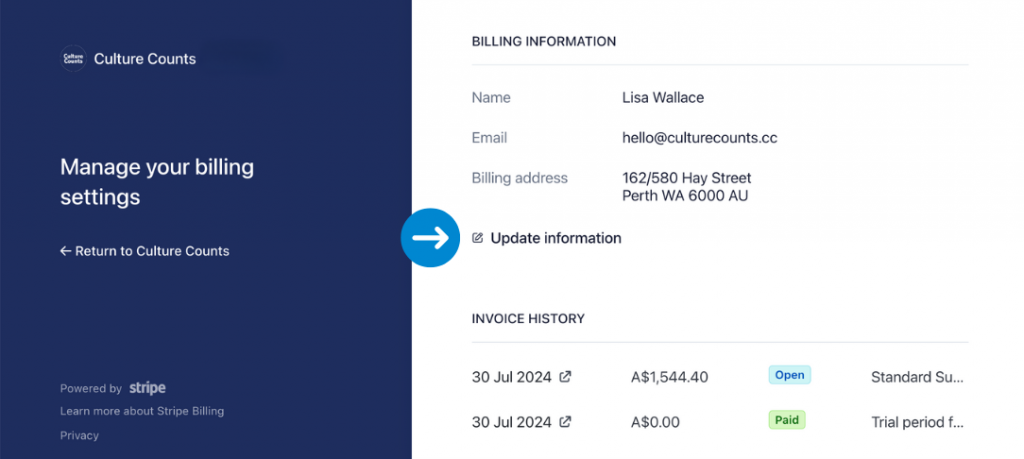
Update contact information
You can update or add the following information in the Stripe Portal.
- Address – we recommend using your business address
- Billing email – make sure this is an email that is accessed regularly (ie admin@organisation.com) as we will send you a reminder when your subscription is due to rollover.
- Phone
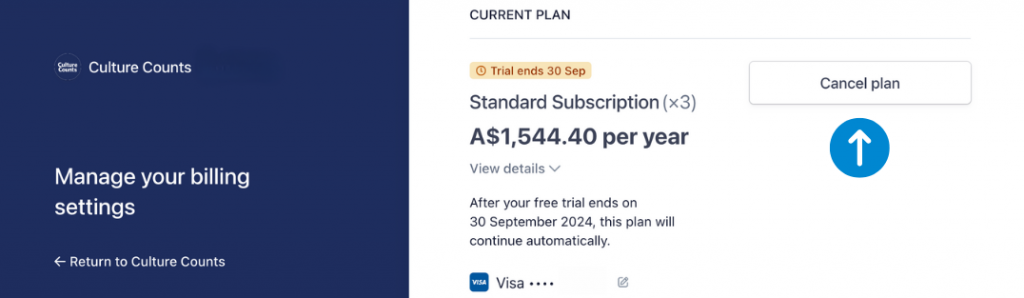
Cancel your plan
You can cancel your plan at any time. Once cancelled you won’t be charged again unless you restart your account. If you cancel with time left in your billing period, you can use Culture Counts until the account deactivates automatically at the end of the billing period. This date is displayed under the ‘Current Plan’ heading.
To cancel, click the ‘Cancel Plan’ button (see pictured).
By choosing to cancel your plan, you are agreeing to the Culture Counts’ Terms and Conditions.
Updating seats (logins)
Seats refer to the logins given to your organisation (3 x admin/member seats and 3 x guest seats) as part of your standard subscription. For more information on user management, click here.
Within the billing section, you will have the option to increase the number of seats available to you, at an additional cost.
You may only update the number of seats once an initial subscription payment has been made.
You can keep track of the number of seats in use via the percentage donut chart on the billing page. To purchase more seats, click ‘manage seats’ and follow the prompts.
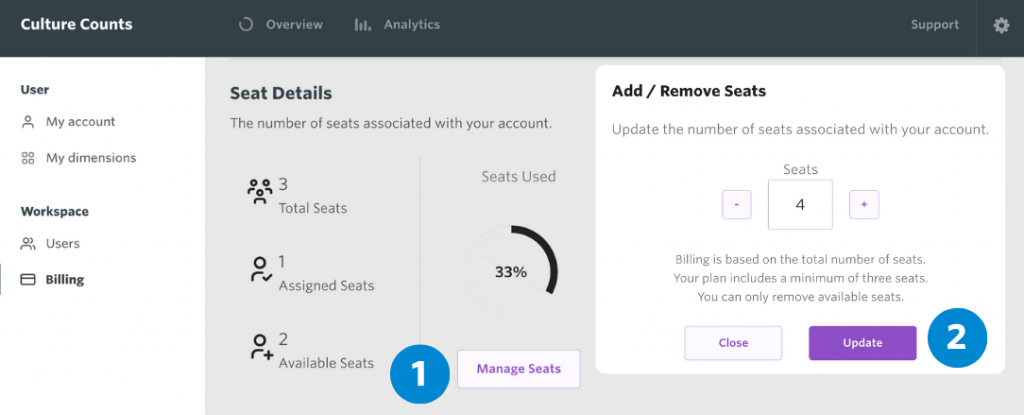
From here you will be taken to the Stripe payment portal. Each seat is active until the end of your subscription period. Extra seats purchased after the start of the current subscription will be billed on a pro rata basis.
Invoices for any additional seats will appear separate from your standard subscription.